I'm back! I had so much fun with the Q guitar that I couldn't stay away from doing another project. This time I'm refinishing and assembling a Telecaster. I'm going for high quality from start to finish this time around and I hope I've learned from my many mistakes on the first project.
The first question you might be asking is why have I chosen a Tele. Well, before I went Tele, I'd been mulling over a custom Strat for a while for several reasons. Stemming largely from my last fill-in for the Minibosses, I wanted a lighter, more comfortable compliment to my Les Paul with slightly easier access to the upper frets. I was looking into hardtail Strat options with two humbuckers. At the same time, Steph and I had been looking at Schecters. Eventually, we ended up getting a C-1 Blackjack, which is essentially a Strat-shaped (not quite the same contours, but close enough), light guitar with two humbuckers and great upper fret access. Suddenly the custom Strat idea seemed redundant. I figured I should try to get away from the two humbucker mode on my next guitar, and possibly look for some other somewhat different features (e.g. bolt-on neck, different bridge, etc.). Right around the time I was rethinking my options, mig gave John the green Tele and much raving about the tone ensued. So naturally I decided to rip off the idea and make my own.
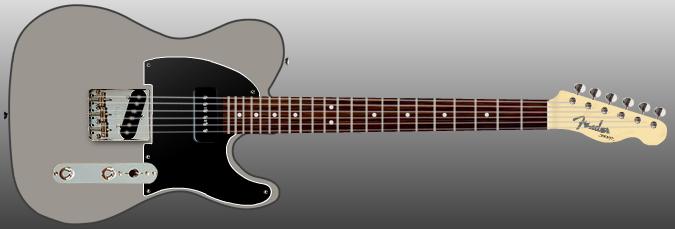
The end goal is to have a high quality and professional looking Telecaster with a Seymour Duncan Quarter Pound Tele pickup in the bridge and a P-90 in the neck position. As for the finish, I've had my eye on Inca Silver at reranch ever since I found the site, which will make for a nice inverse/compliment to my black and silver P-bass (bear with me - something about this fact brings great peace to my hyper-analytical brain). Here's the first mock-up I made:
Almost immediately after deciding that I wanted to build a Tele, I found two ebay auctions that were just too good to pass up. Before I knew it I had bought a Fender USA Tele body and a Warmoth Strat neck and was charging into the project full speed ahead. Shortly thereafter I found a nice six-saddle bridge with no ashtray-style sharp edges and the option of feeding the strings through the body or only the bridge. I also found a pretty sweet deal on a Duncan Custom P-90 neck pickup, which is probably the model I would have chosen even if I bought one brand new. I searched ebay for a while looking for a good deal on a QP or some Schaller tuners (the peghead is pre-drilled for Scallers) but the deals were not forthcoming. After a little while I made a big order to Warmoth and got the vast majority of the parts I would need.
| Part | Paid | Source |
| Warmoth Strat neck | 146.00 | ebay |
| USA Tele body w/ P-90 routing in neck | 125.00 | ebay |
| Duncan Quarter Pound Tele lead pickup | 62.95 | warmoth |
| Schaller mini locking tuners | 51.00 | warmoth |
| Duncan Custom P-90 pickup | 49.00 | ebay |
| BWB pickguard routed for P-90 | 19.13 | warmoth |
| reranch aerosol nitro, silver | 18.78 | reranch |
| reranch aerosol nitro, clear gloss | 15.78 | reranch |
| standard 3-way switch | 14.88 | warmoth |
| Schaller strap-locks | 12.75 | warmoth |
| Tele bridge, 6 vintage saddle, flat style | 12.00 | ebay |
| reranch aerosol primer | 11.78 | reranch |
| standard tele control plate, chrome | 10.63 | warmoth |
| electro-socket jack | 10.63 | warmoth |
| 2 x 250k-ohm pots | 6.38 | warmoth |
| 2 x chrome dome knobs | 5.84 | warmoth |
| standard tele neck plate, chrome | 4.78 | warmoth |
| black P-90 pickup cover | 3.33 | stewmac |
| metal roller string T, chrome | 3.19 | warmoth |
| 2 x P-90 mounting screws, 3 x regular screws | 1.91 | warmoth |
| 4 x standard neck screws | 1.70 | warmoth |
| black barrel knob | 1.59 | warmoth |
| 8 x standard pickguard screws | 1.53 | warmoth |
| 3 x standard bridge screws | 0.96 | warmoth |
| --------- | ----- | |
| Total | $591.51 |
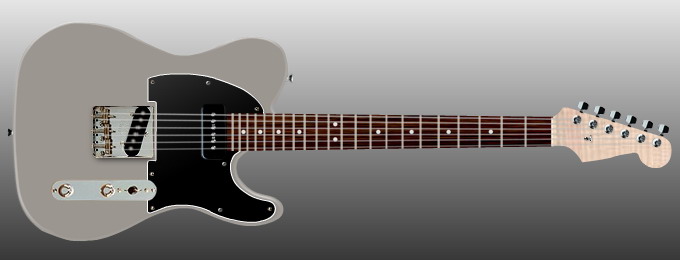
Based on the actual parts, we can revise the planned guitar a bit:
31 March 2005
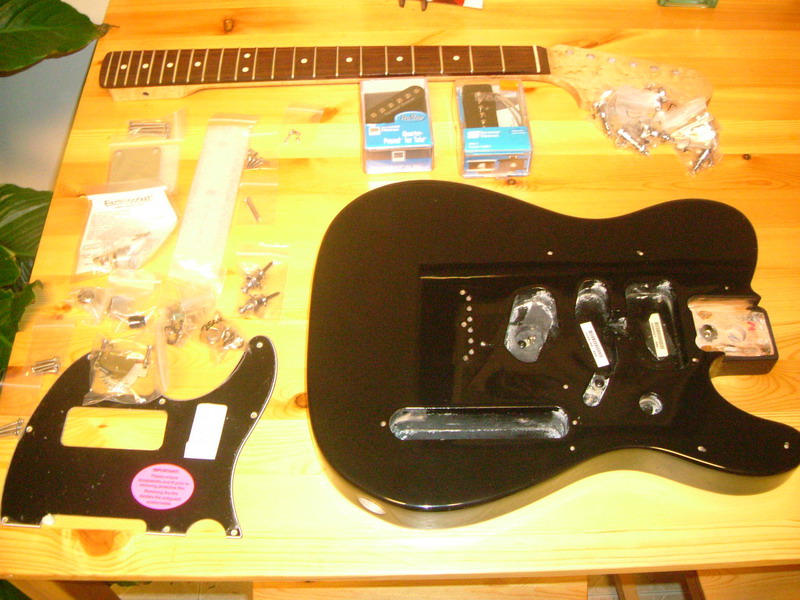
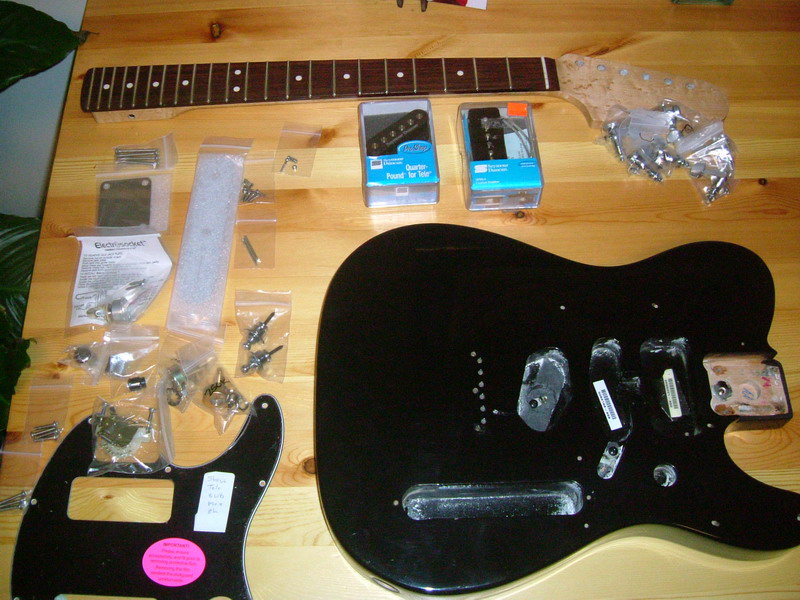
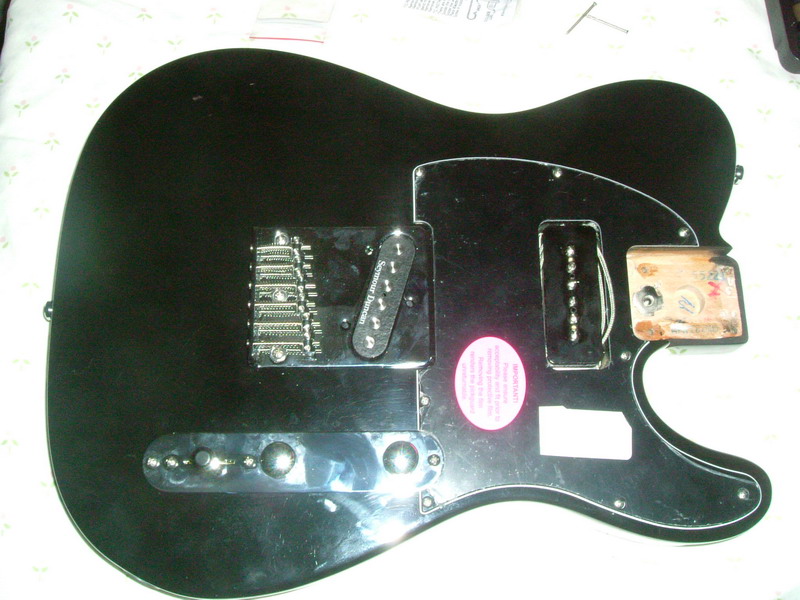
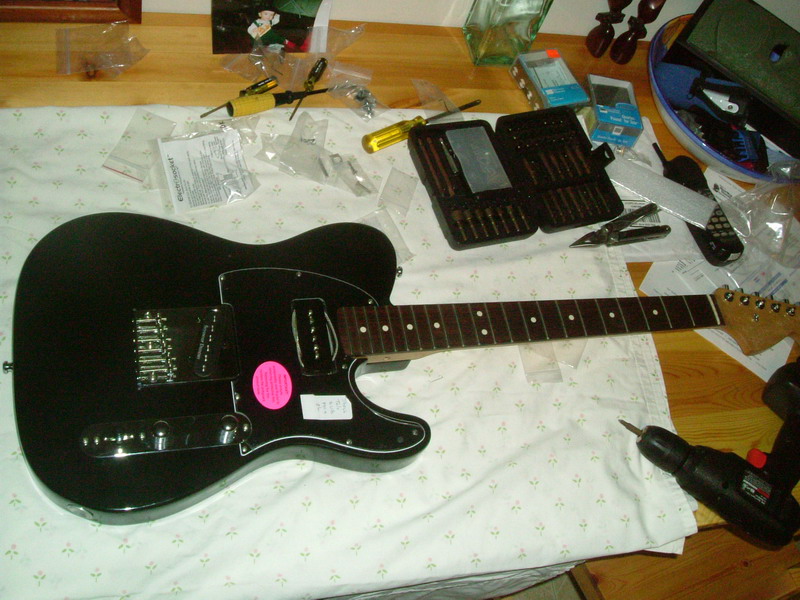
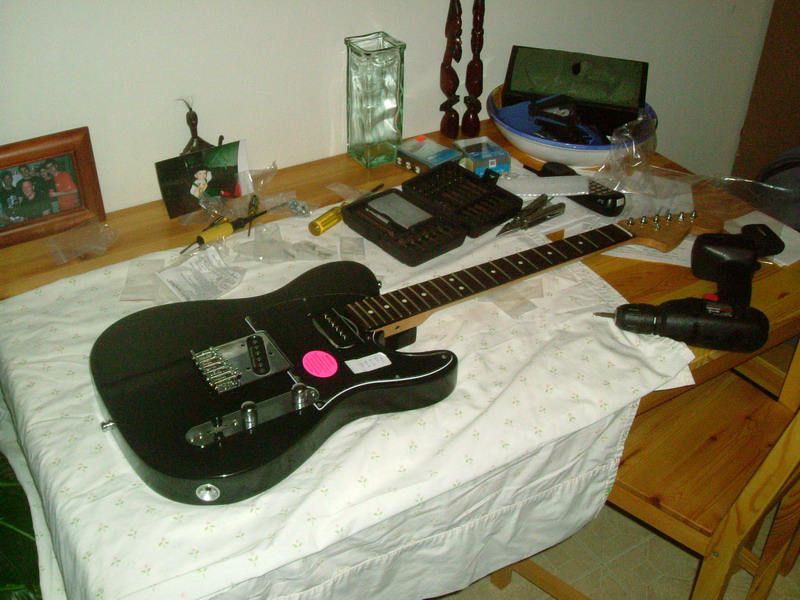
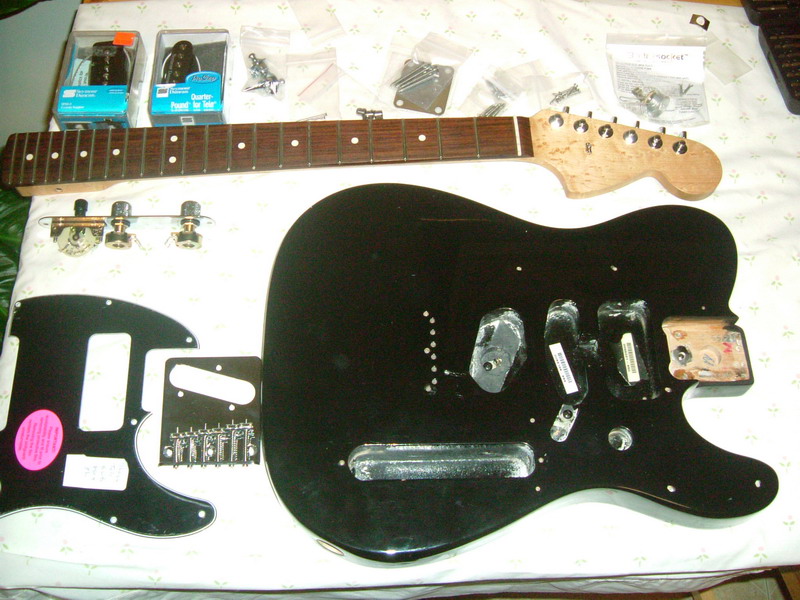
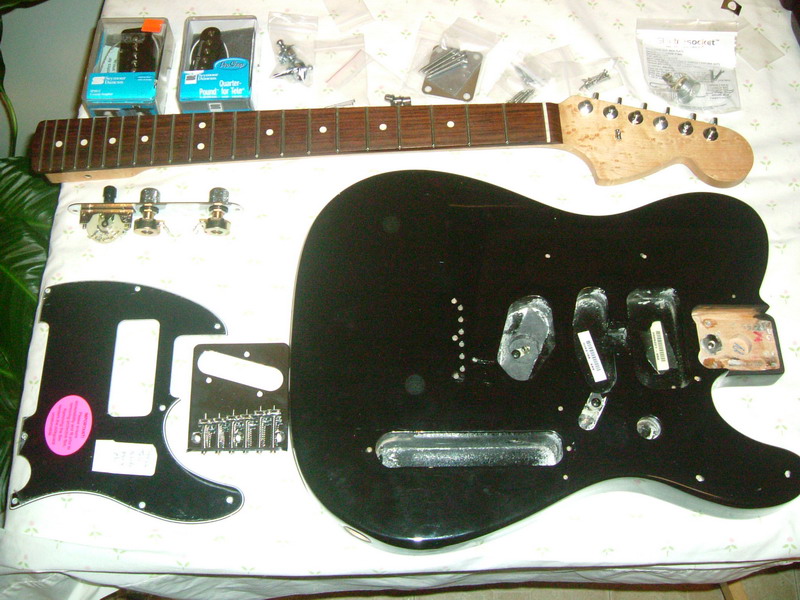
I've read some lamenting and subsequent advice from guitar builders that worked hard on a nice finish only to run into a problem at the building phase that required additional routing or other body work. Taking that advice, I decided to put the parts together before I touched the finish. On March 31 UPS brought me sweet lovin' in the form of a box of goodies from Warmoth and I went right to work. I layed out all the parts, and then fit them together losely without any screws.

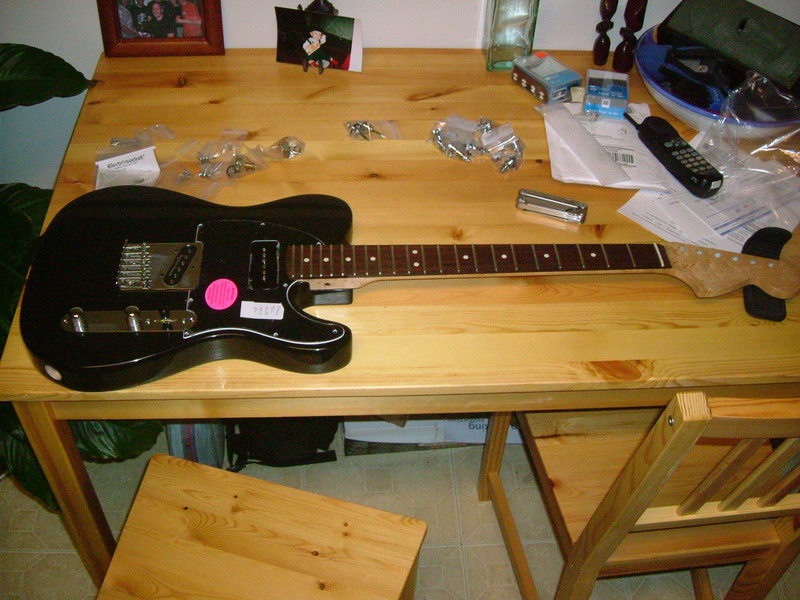
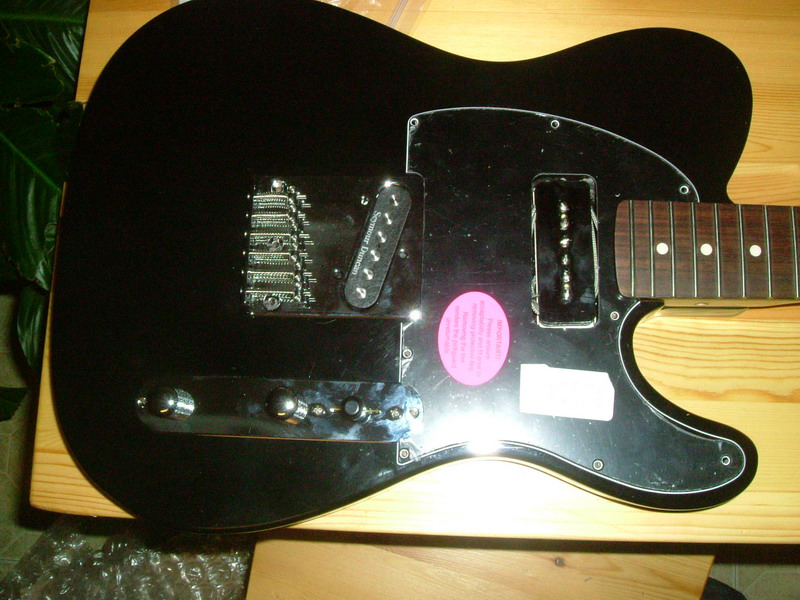

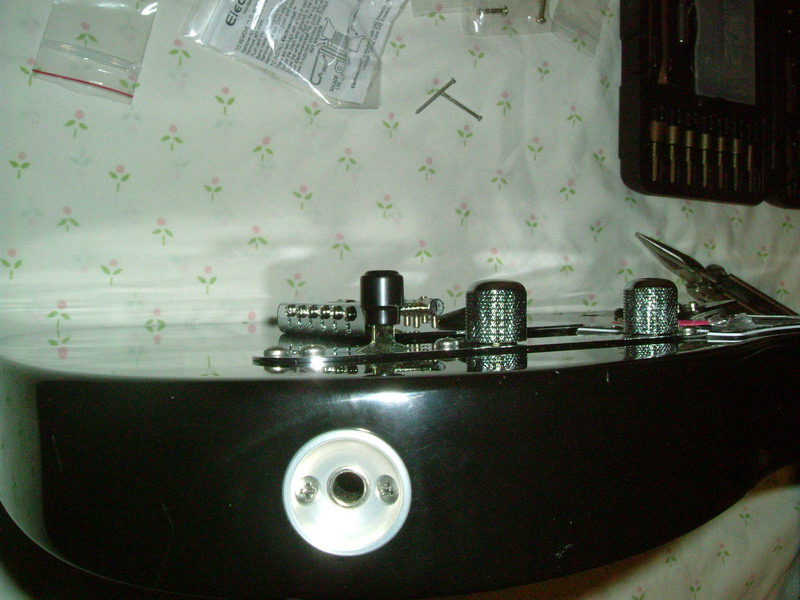
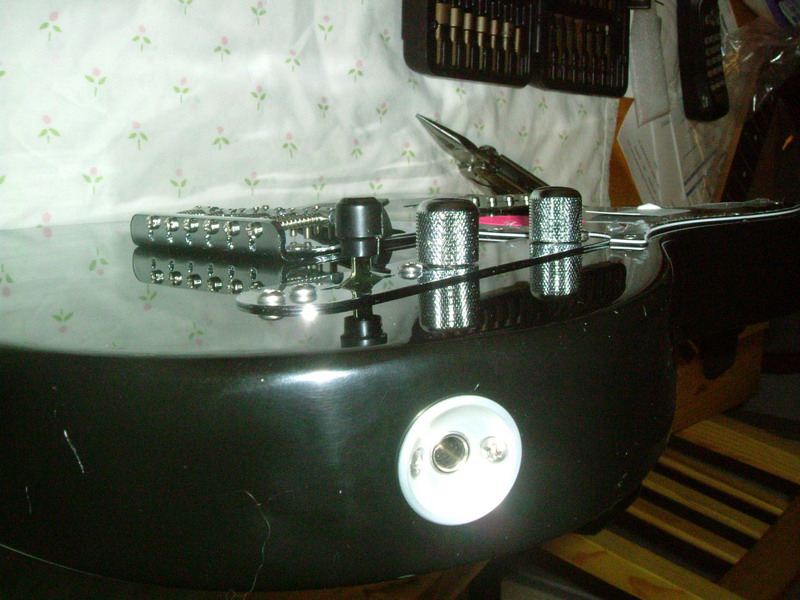
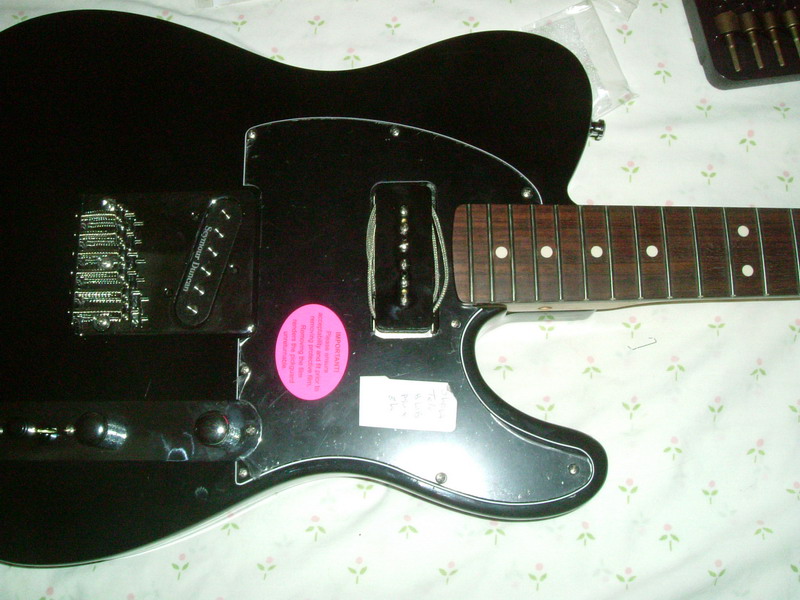
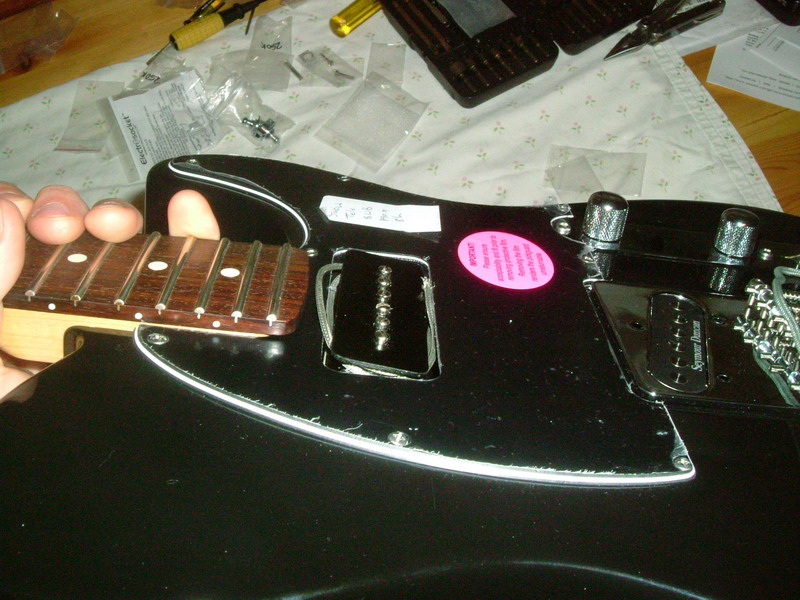
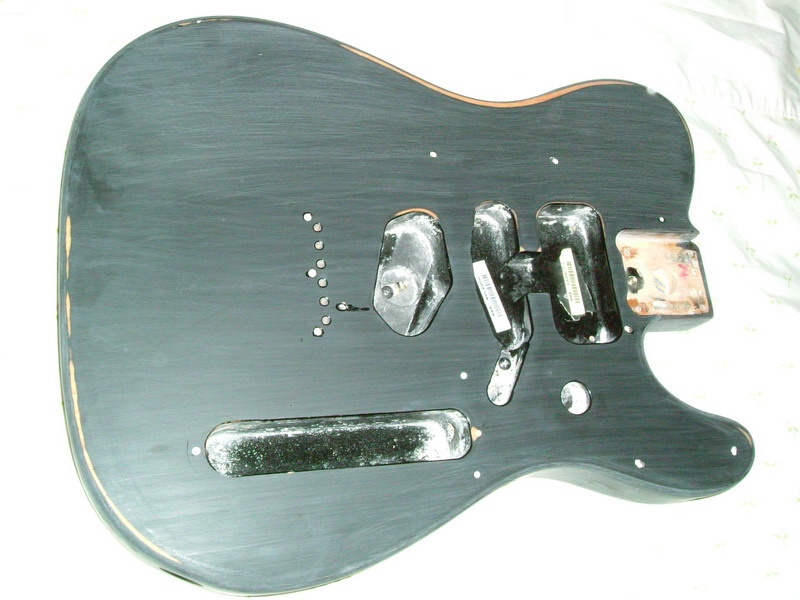
The pickguard screws did not line up perfectly with the holes in the body, which I didn't expect since I figured all Tele's were made to the same specs. I managed to get all the screws down, but a few of them had to go in a little crooked. I don't think anyone would really notice this about the guitar, but it bothered me slightly. See if you can tell in the pictures. The bridge went on fine, but I discovered I didn't have any screws that fit the mounting holes for the QP. These will be my next (and final) purchase, along with a cover for the P-90. Speaking of the P-90, I didn't mount it because the holes in the body confused me and I want to wait for the cover to make sure it sits in perfectly. I attached the pots, switch, and knobs to the control plate. Without thinking too much about it, I put the control plate on in what seemed like the only direction it would fit with the pickguard. I later discovered that I put it on backwards. I will have to look into making it fit the correct way. I also used the wrong screws to mount it, but this shouldn't be a big deal at all.


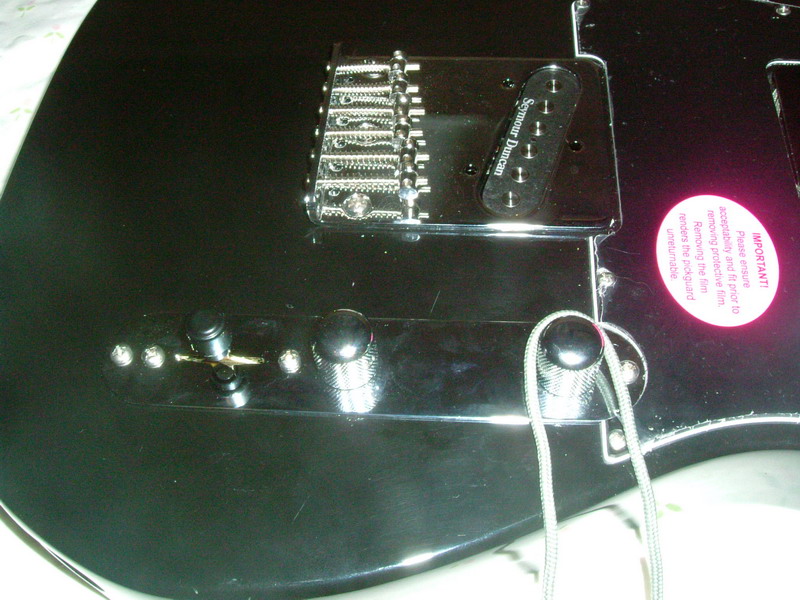

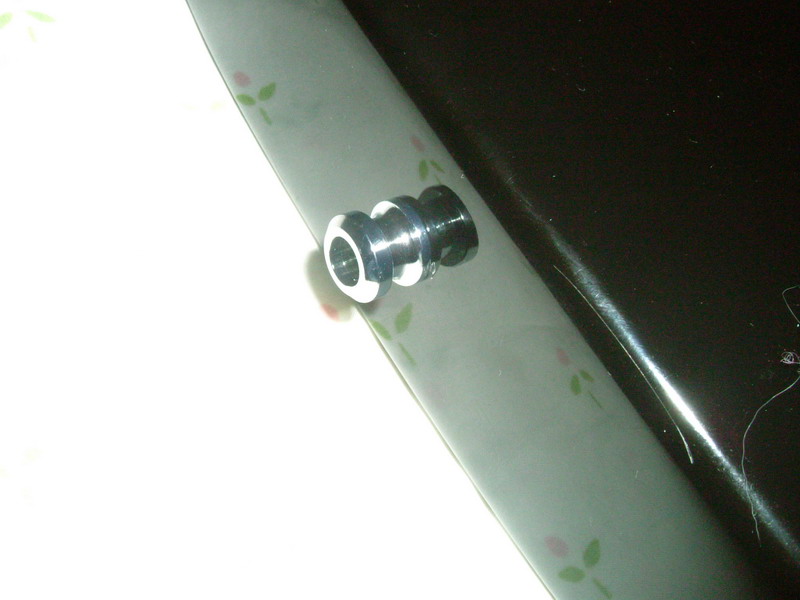
I got an electro-socket jack, because it seemed like the typcial Tele jack is a pain in the ass. A couple of Schaller strap-lock buttons and the body is finished (for now).


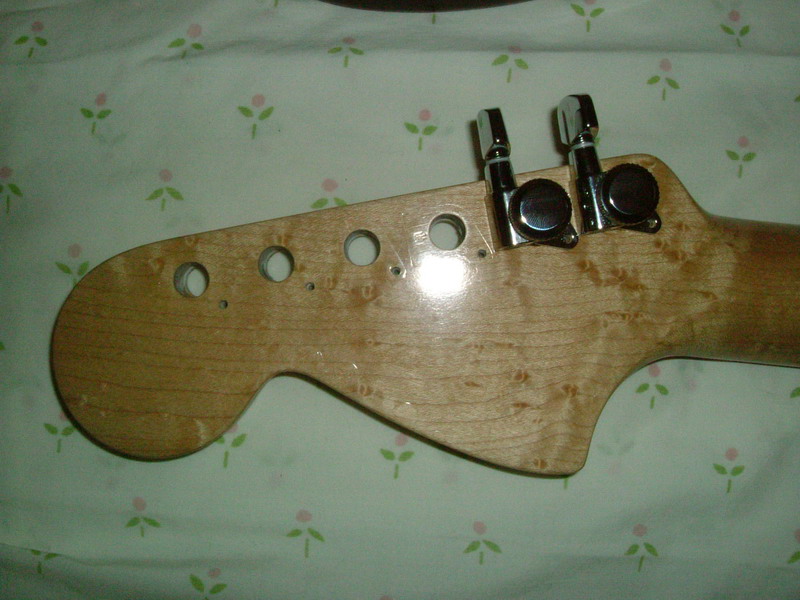
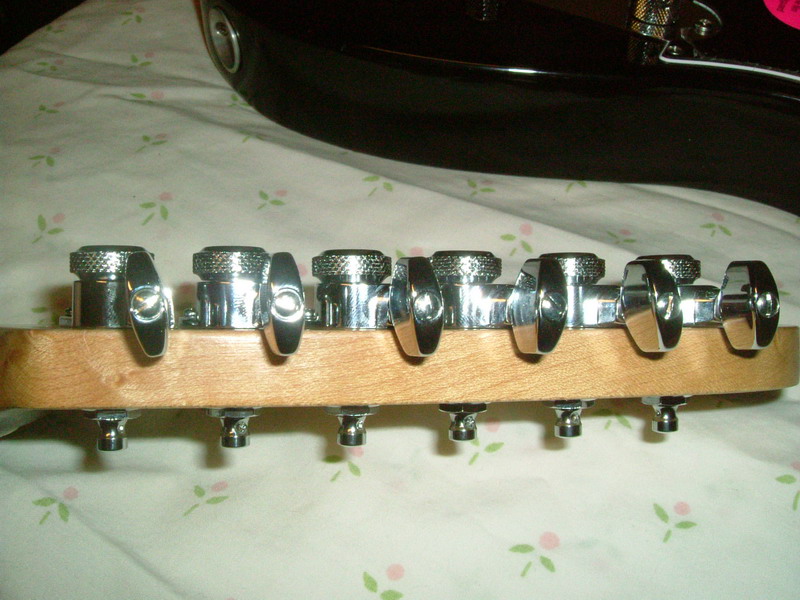
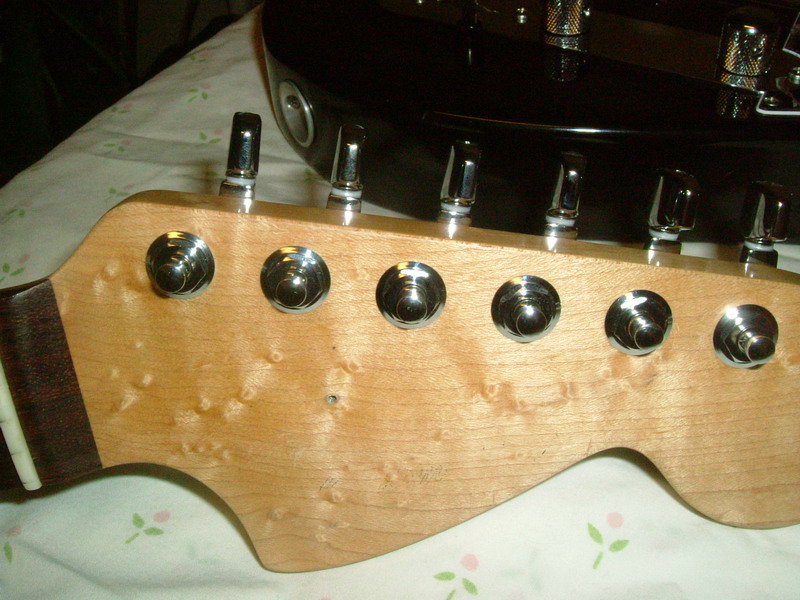
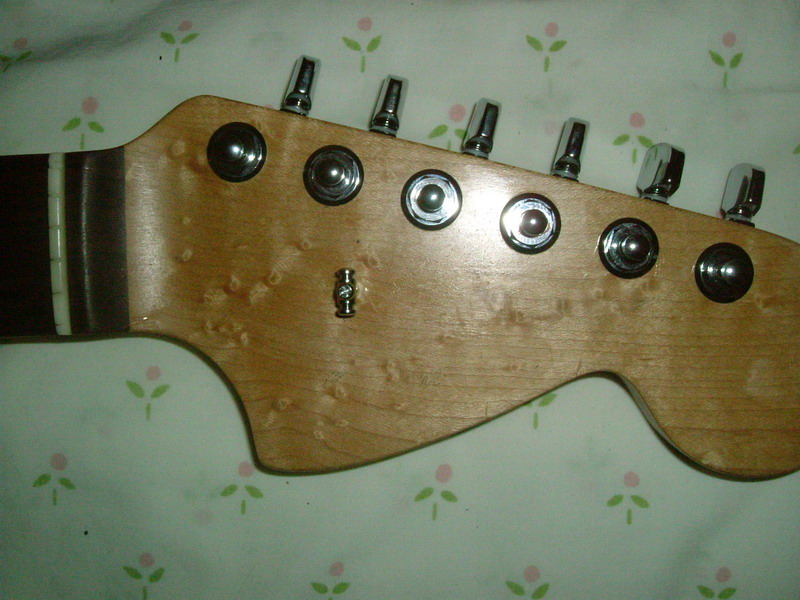
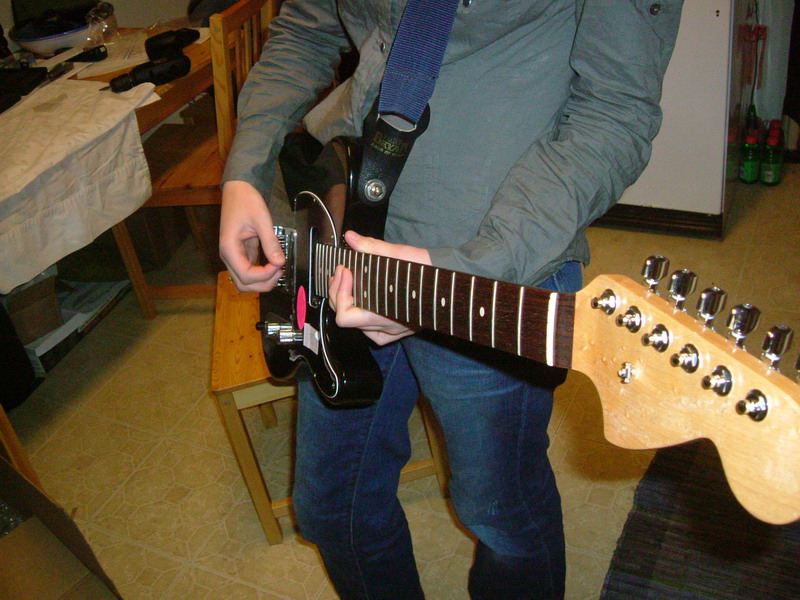
As I mentioned, the neck was pre-drilled for Schaller tuners, which it had under the previous owner. Given that, it was really easy to install the Schaller mini locking tuners I got from Warmoth. I think they look pretty slick.


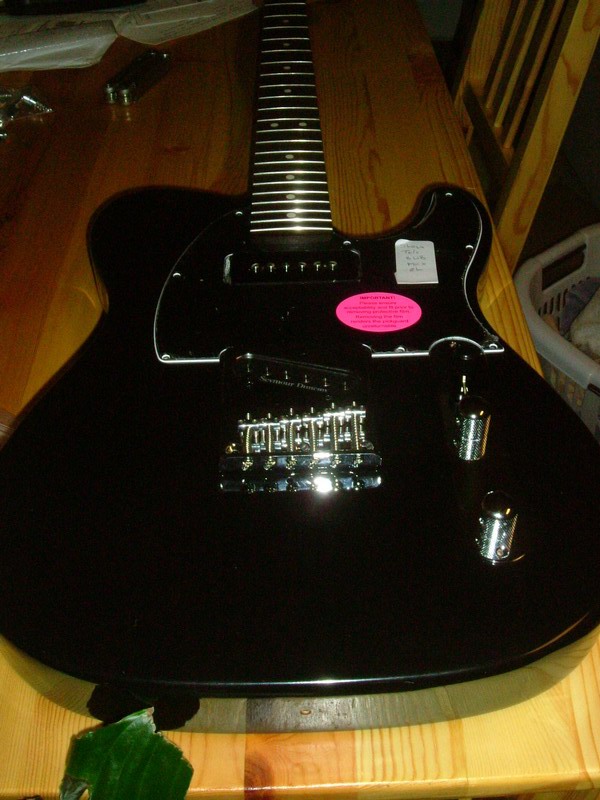
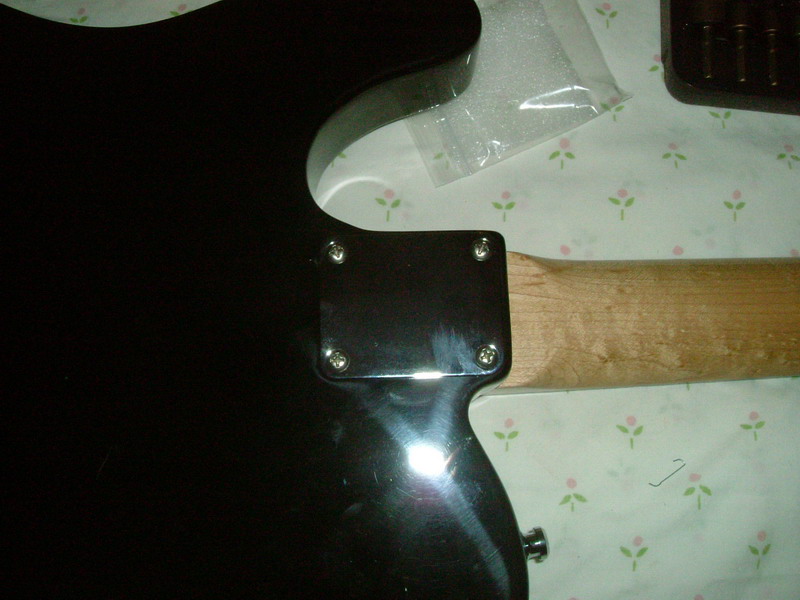
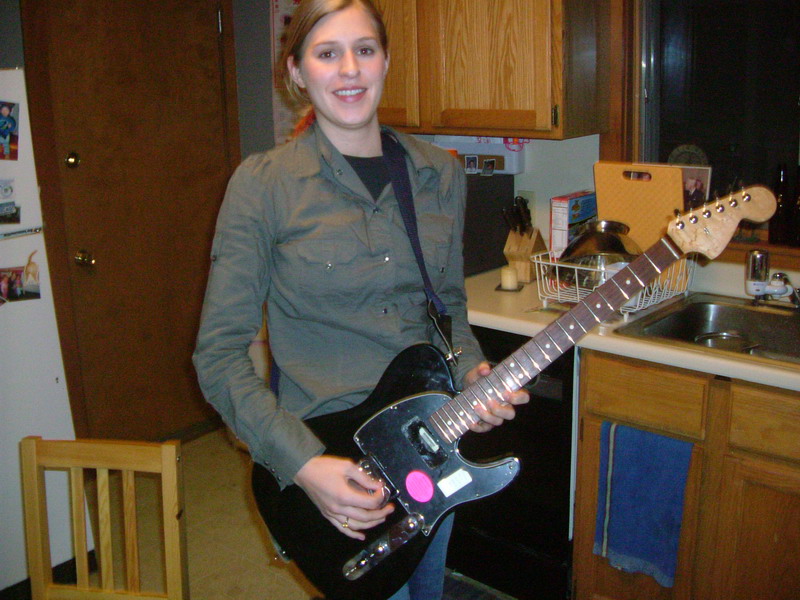
Last but not least I attached the neck to the body and took some glamour shots. Looking pretty sweet if I do say so myself. Just picture it in silver with the pickups properly mounted and everything all polished up. Mmmmmm. See what I mean about complimenting my bass?


Satisfied that everything fits ok and no body work is needed, I took my baby apart again. I think she's ready for some painting.
17 April 2005
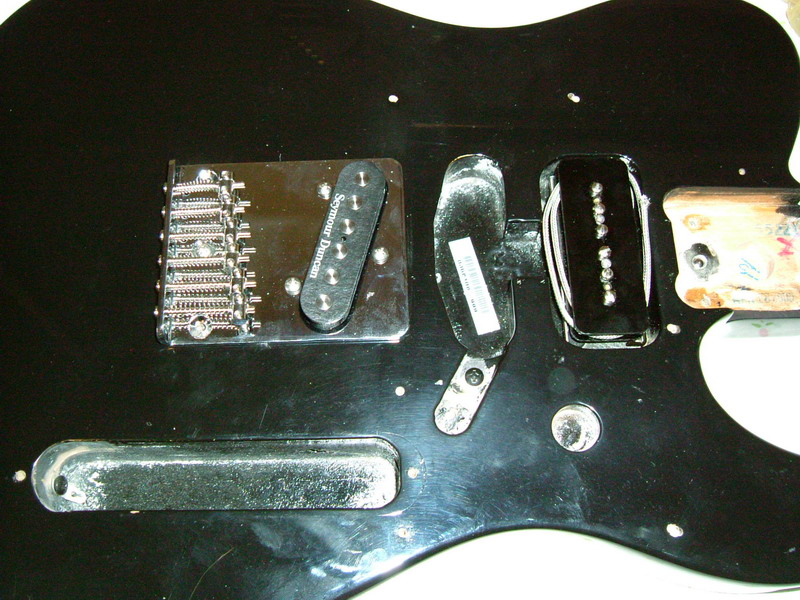
As I mentioned above, there were a few things that needed tweaking to get the guitar fully built. Before sanding down the finish, I decided to work out the last few kinks. I went back to my hardware and found the right screws for mounting the QP. It was kind of annoying to get the screws lined up, but now it's in there very solidly. While I was at it, I mounted the P-90. Then I decided to figure out why the control plate wasn't fitting. It turns out that one of the pots was hitting something in the control cavity. There's an eyelet on a screw, apparently used as a guide for wires. I moved the orientation of the eyelet and the control plate slid right in.


Now we're ready for the finish.
As with the Q guitar, I will be following the reranch 101 instructions as closely as possible. The sequence will be sanding down the old finish with #220, priming, spraying the color coats, then the clear coats. It sounds a lot easier than it is.
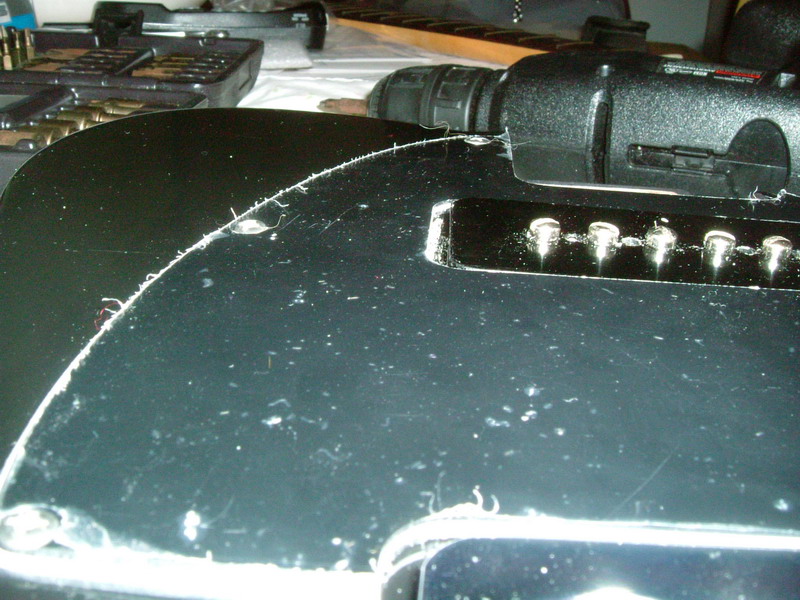
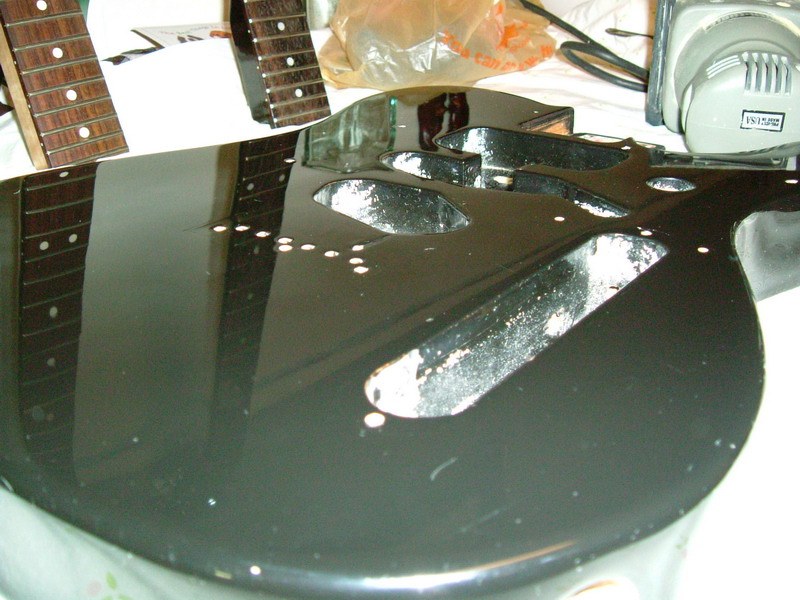
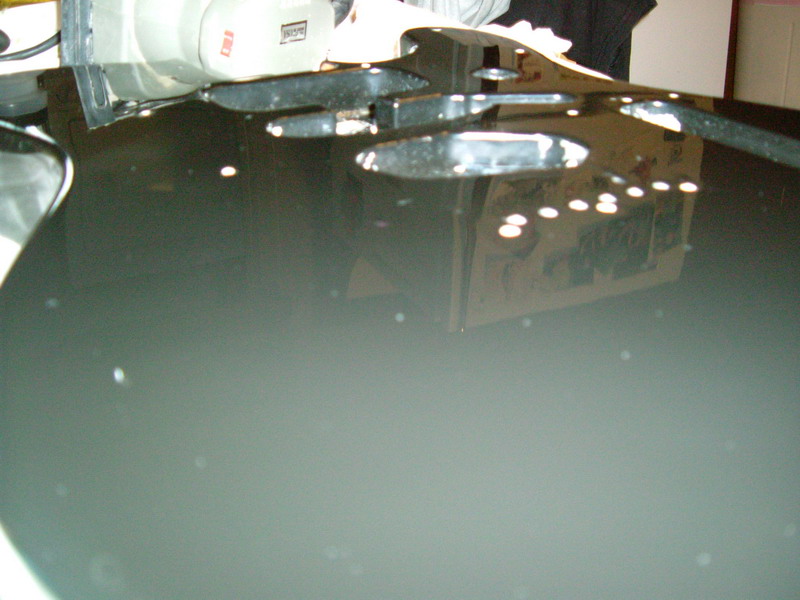
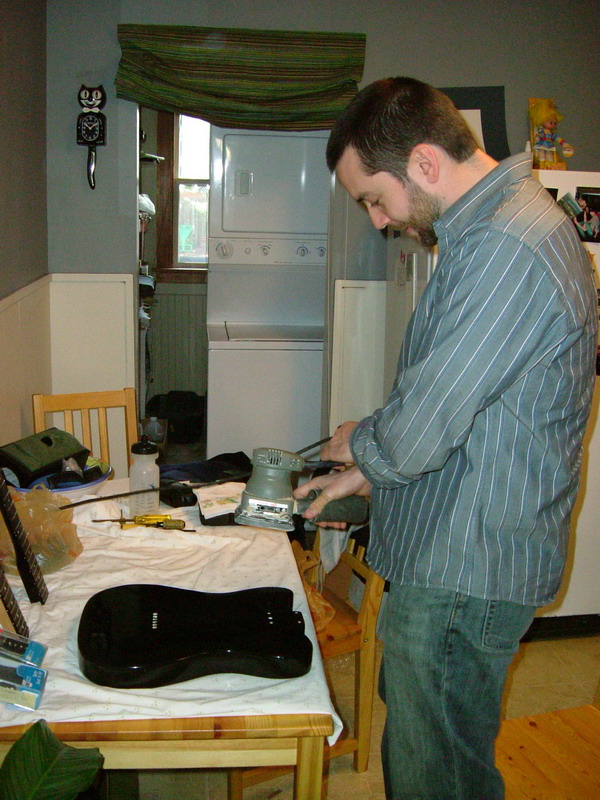
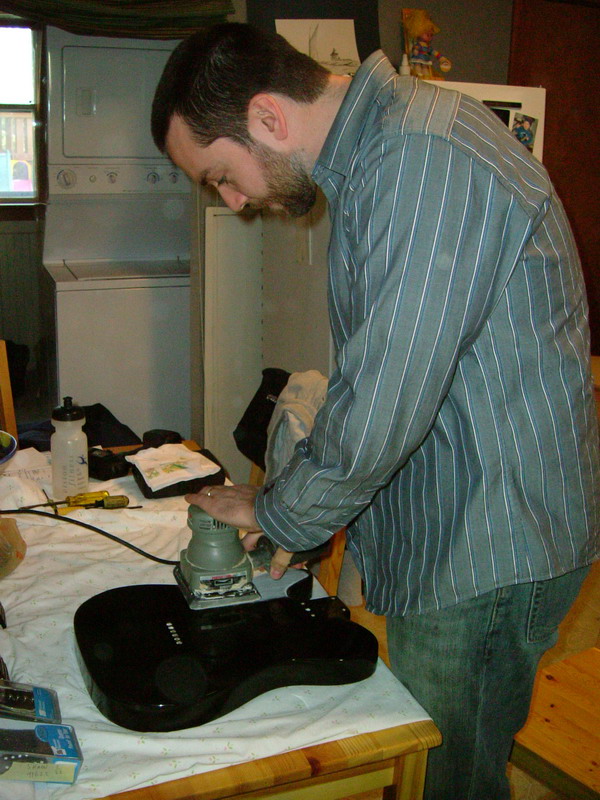
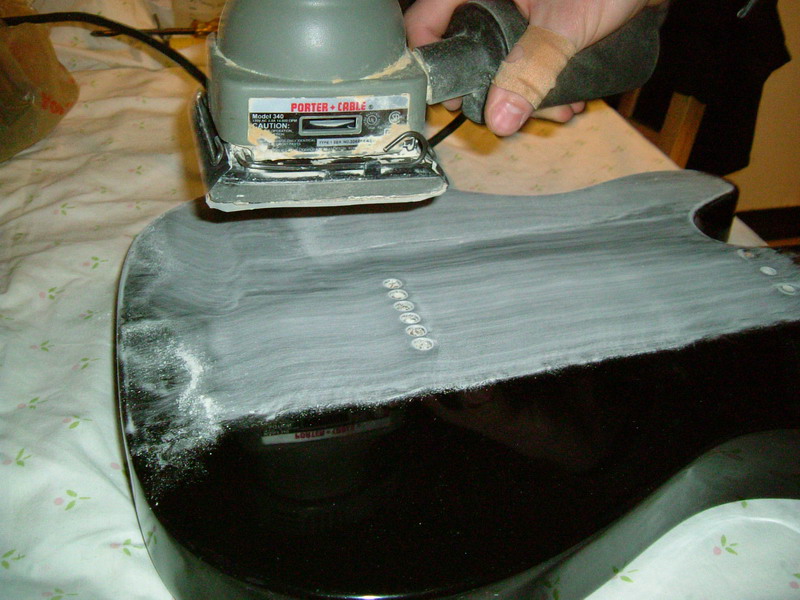
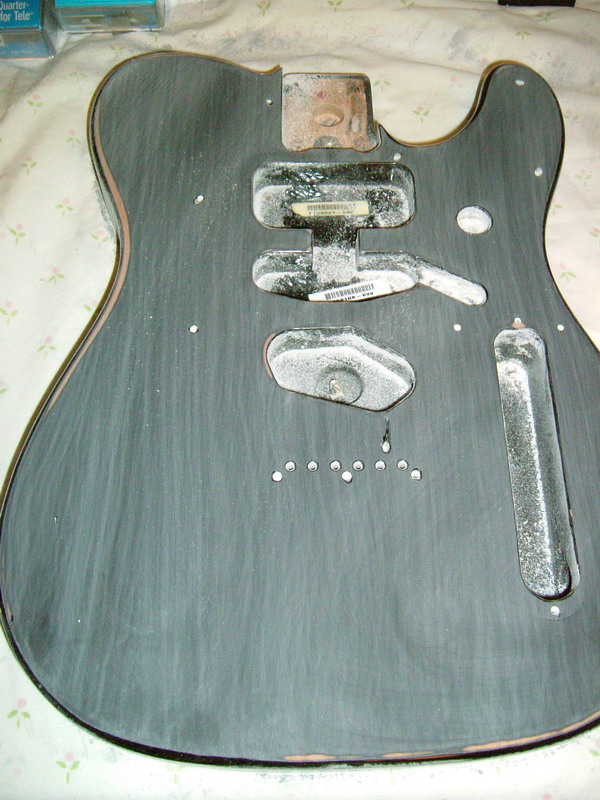
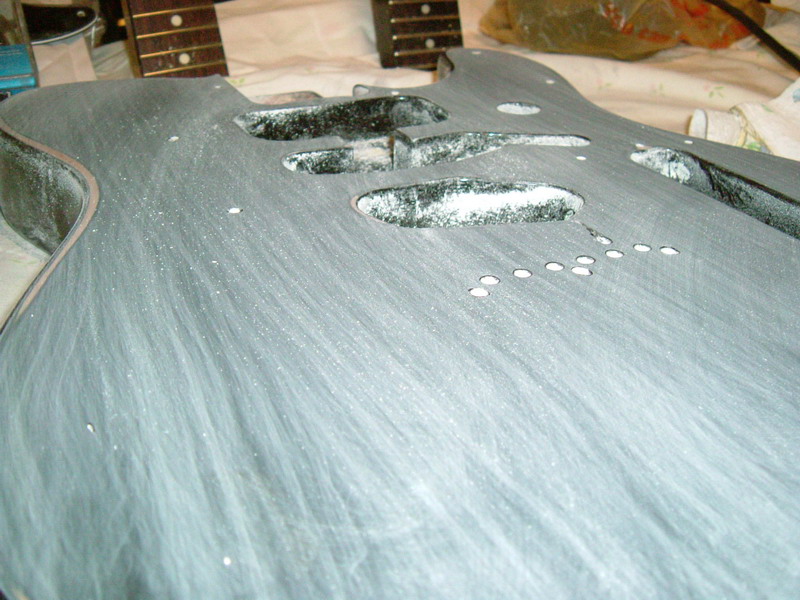
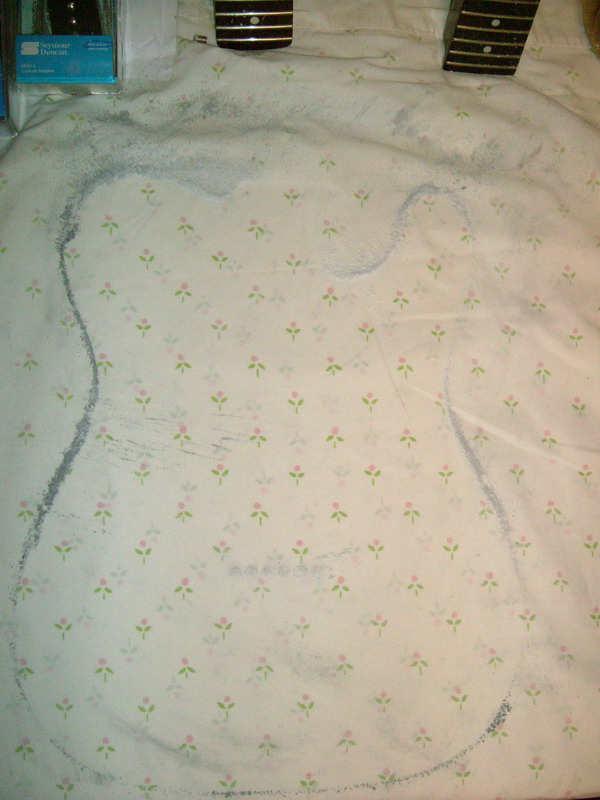
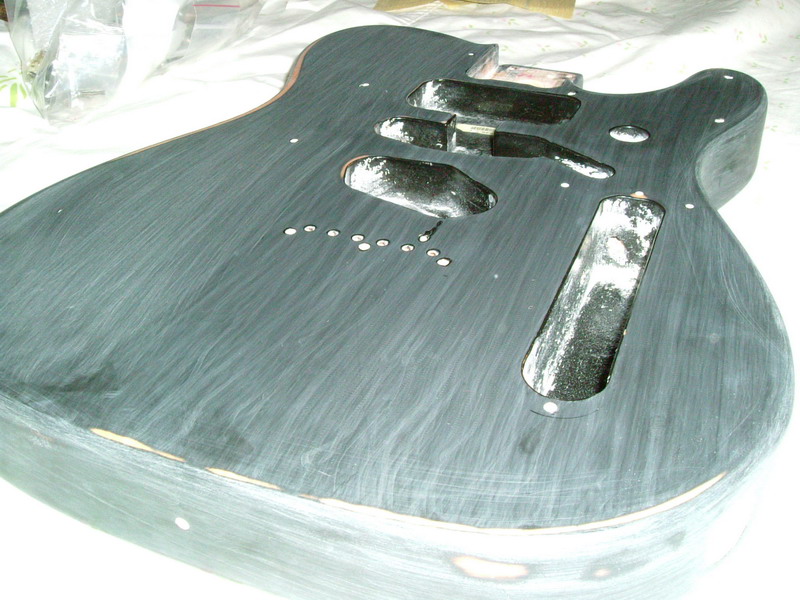
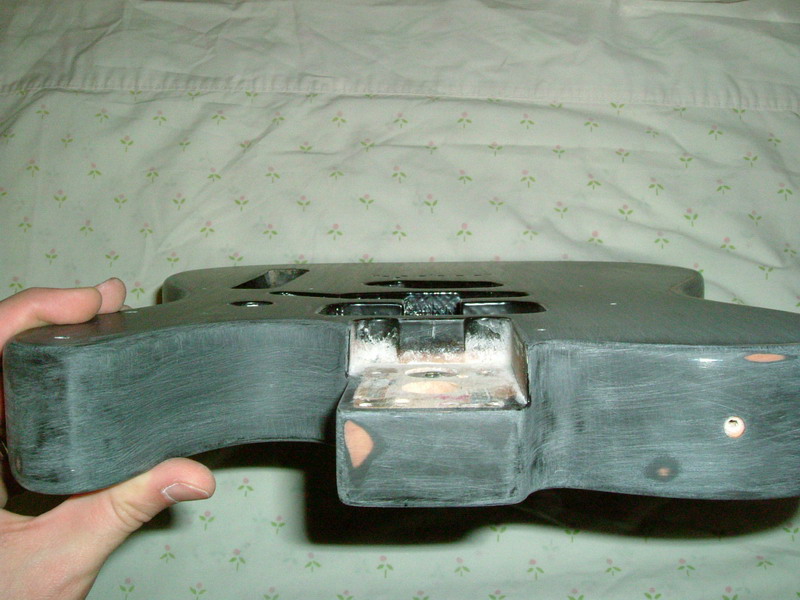
So the first step is to sand down the old finish. A long time ago I borrowed my dad's automatic sander for something around the house and never got around to returning it. It's still conveniently loaded up with #220 grit paper from when I sanded down the Q guitar. I cleared any dust or debris off the tele and got started with the sanding. I was much more careful and thorough this time around. The amount of dust that was produced was a lot more than the Epiphone, as one of the pictures shows. I fought off the dust headache and kept at it, finishing up the sides with a loose piece of sand paper and wiping off the excess dust in between passes.


Unfortunately I can't spray paint in my apartment so the work has to stop there for now. I had planned on going to my parents' house in New Hampshire this weekend, but unfortunately something came up that kept me here. The next free weekend, I will head up to NH to spray on the primer.
22 April 2005
I happened to be free this weekend, so I got the chance to go up to my parents' house in NH and make more progress on my guitars. With some help from my stepfather, Tim, I started by putting together some devices to help me paint the tele efficiently. First, I attached a block of wood to the neck socket to use as a handle. I drilled a hole in the end and put a couple of nails in the ceiling beams to hang it from. We also screwed some blocks together to form a stand that I can prop the guitar on to paint the top and bottom sides. While I was in the woodshop, I decided to fill in the problematic pickguard holes with wood filler.
The next morning, I sanded down the excess wood filler. On Tim's suggestion, I wiped down the body with a small amount of turpentine to remove the sanding dust and debris. Once it was dry, I hung it from the ceiling and did the first coat of white primer. The nail hanger worked great. I did the front, back, and sides, then waited an hour and a half while it dried to the touch. Once dry, I did the top and bottom. I repeated this procedure twice, getting nice, full coverage with the primer.
Spray on two coats. When dry you may notice that the surface feels rough. Sand off the roughness with #320 dry and respray. Sand again. If the surface now appears smooth and all grain is opaqued you are ready for the color coat.
Dilligently following the advice of reranch, I set up and did some sanding. I didn't have any #320 grit, so I used #400. After just a couple of passes the body felt much smoother but some black spots were showing through. I moved on to coat #3 to make sure everything opaqued properly. This time, I was very light with the sanding. I can see through the primer in a few spots, but otherwise it's looking great.